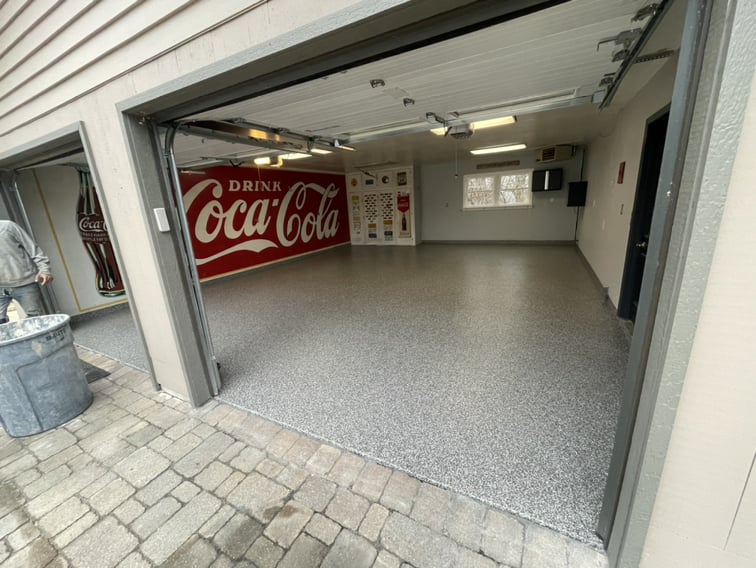
Applying an epoxy coating to your garage floor can transform it into a durable, attractive, and easy-to-clean surface. However, the success and longevity of your epoxy floor hinge almost entirely on one critical factor: proper preparation. Skipping steps or cutting corners during the prep phase is the fastest way to a failing epoxy coating that peels, bubbles, or delaminates. At Flagler Concrete Coatings, we understand that a flawless finish starts long before the first drop of epoxy is mixed. This comprehensive guide will walk you through everything you need to know about prepping garage floor for epoxy, ensuring a professional-grade result.
Why Proper Preparation is Non-Negotiable for Epoxy
Many homeowners are eager to jump straight to the exciting part – applying the epoxy. But without meticulous preparation, even the highest quality epoxy will fail to bond correctly with the concrete. Concrete is a porous material, and over time, it accumulates oil, grease, dirt, and sealers. These contaminants act as bond breakers, preventing the epoxy from adhering. A properly prepared surface creates a strong mechanical bond, allowing the epoxy to penetrate the concrete's pores and lock into place. This ensures maximum durability, resistance to hot tire pickup, and a lifespan that can last for decades.
Essential Steps for Prepping Your Garage Floor for Epoxy
Prepping garage floor for epoxy involves several crucial stages, each designed to create the ideal surface for adhesion. Following these steps diligently will set the foundation for a stunning and long-lasting epoxy coating.
Step 1: Clear and Clean Thoroughly
Begin by completely emptying your garage. Remove all vehicles, tools, storage, and anything else on the floor. Once clear, sweep and vacuum the entire surface to remove loose dirt, dust, and debris. This initial cleanup is vital for revealing the true condition of your concrete.
Next, it's time for a deep clean. Use a heavy-duty degreaser and a stiff brush to scrub away oil stains, grease spots, and any other stubborn contaminants. For larger areas or heavily soiled floors, a pressure washer can be highly effective. After scrubbing, thoroughly rinse the floor with clean water, ensuring all cleaning agents and residue are completely removed. Allow the floor to dry completely before moving to the next step.
Step 2: Repair Cracks and Damage
Inspect your garage floor for any cracks, spalling, or minor divots. These imperfections must be addressed before applying epoxy, as the coating will simply highlight them. For small cracks (up to 1/8 inch wide), a high-quality epoxy crack filler or concrete repair compound is suitable. Larger cracks or spalled areas may require more extensive patching. Always follow the manufacturer's instructions for mixing and application, ensuring the repair material cures fully and is flush with the surrounding concrete.
Step 3: Profile the Surface (Etching vs. Grinding)
Surface profiling is perhaps the most critical step when prepping garage floor for epoxy. This process creates a rough, porous surface that the epoxy can grip onto, known as a concrete surface profile (CSP). There are two primary methods:
- Acid Etching: This involves applying a diluted muriatic acid solution (or a safer citric acid alternative) to the concrete. The acid reacts with the concrete, creating a slightly roughened texture. While it's a common DIY method, acid etching can be inconsistent, may not remove deep contaminants, and requires careful handling of hazardous chemicals. It also leaves behind a residue that must be thoroughly neutralized and rinsed.
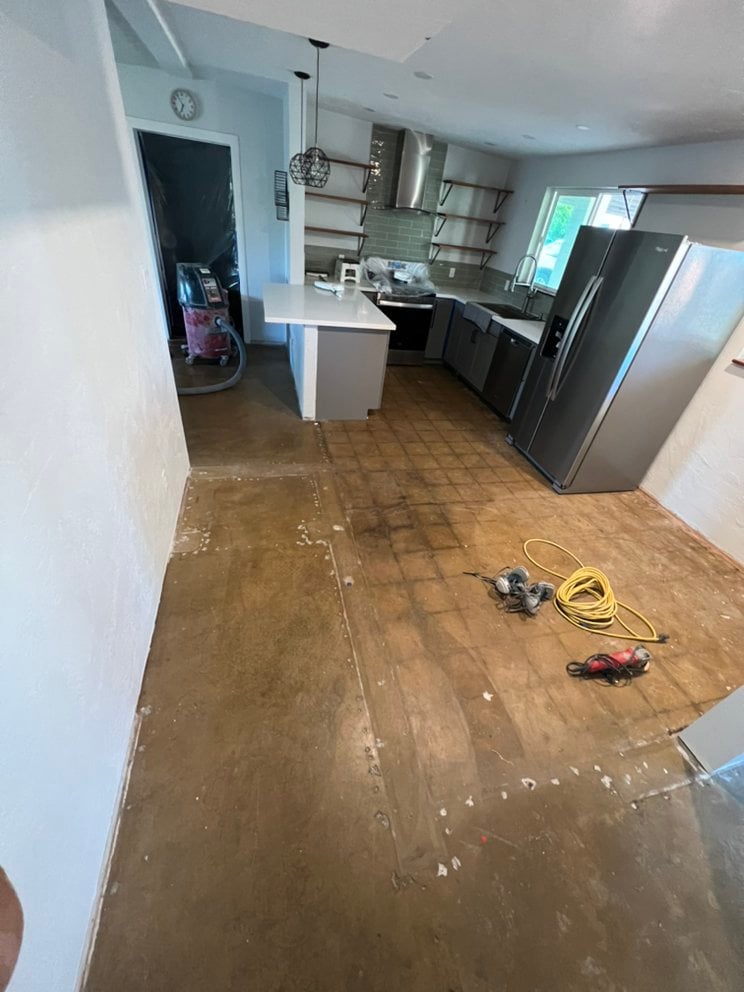
- Mechanical Grinding: This is the professional standard for surface preparation. A diamond grinder removes a thin layer of the concrete surface, creating an optimal CSP and opening up the pores. Grinding is superior to etching because it effectively removes old sealers, paint, and deeply embedded contaminants, providing a much stronger and more consistent profile for epoxy adhesion. It's also cleaner, as grinders are typically equipped with vacuum attachments to minimize dust.
Step 4: Dust Removal and Final Inspection
After grinding or etching, thorough dust removal is essential. Use a powerful shop vacuum with a HEPA filter to remove all concrete dust. For grinding, this step is typically integrated. For etching, ensure all residue is completely gone. A final wipe-down with a tack cloth can pick up any remaining fine particles. Before applying epoxy, perform a moisture test to ensure the concrete is completely dry. Tape a 2x2 foot plastic sheet to the floor overnight; if condensation forms underneath, the floor is still too wet for epoxy application.
Common Mistakes to Avoid When Prepping for Epoxy
To ensure your epoxy coating lasts, be aware of common pitfalls. Rushing the drying time between cleaning and coating is a frequent mistake that leads to moisture issues. Failing to adequately degrease or remove old sealers will result in poor adhesion. Using an insufficient profiling method, such as light acid etching on a very smooth or sealed floor, won't create enough grip for the epoxy. Lastly, ignoring minor cracks or imperfections will cause them to show through the finished coating, compromising both aesthetics and durability.
When Professional Help Makes All the Difference
While some homeowners attempt DIY garage floor preparation, the complexity, specialized equipment, and precision required often make professional assistance invaluable. Mechanical grinding, in particular, requires heavy-duty equipment and expertise to achieve the correct concrete surface profile without damaging the slab. If your garage floor has significant damage, existing coatings, or you simply want the peace of mind that comes with a perfectly prepped surface, professional services are the smart choice. That's where Flagler Concrete Coatings comes in.
Our team has the experience, tools, and knowledge to handle every aspect of prepping garage floor for epoxy, ensuring your concrete is perfectly ready for a lasting, beautiful finish. We take the guesswork out of the process, guaranteeing optimal adhesion and a superior result.
Frequently Asked Questions
How long does garage floor prep take?
The time required for garage floor preparation varies depending on the size of the garage, the existing condition of the concrete, and the chosen preparation method. A typical two-car garage with minimal damage can take anywhere from one to two full days for thorough cleaning, repairs, and mechanical grinding, plus drying time.
Can I epoxy over existing paint or sealer?
No, it is highly recommended to remove any existing paint, sealer, or other coatings before applying new epoxy. These old layers can prevent the new epoxy from bonding directly to the concrete, leading to peeling and delamination. Mechanical grinding is the most effective way to remove old coatings.
What tools do I need for DIY prep?
For DIY prep, you'll need a broom, shop vacuum, degreaser, stiff brushes, a pressure washer (optional), concrete patch/filler, and potentially an acid etching kit. For mechanical grinding, specialized equipment like a diamond grinder and industrial vacuum are required, which are typically rented or provided by professionals.
How do I know if my concrete is ready for epoxy?
A properly prepared concrete surface should be clean, dry, free of contaminants, and have a texture similar to 100-grit sandpaper (a CSP of 2-3). You can also perform a water droplet test: sprinkle a few drops of water on the surface. If they quickly absorb, the concrete is porous and ready. If they bead up, more preparation is needed.
Is acid etching or grinding better for epoxy prep?
Mechanical grinding is generally considered superior to acid etching for epoxy preparation. Grinding creates a more consistent and aggressive concrete surface profile, effectively removes all contaminants and old coatings, and results in a stronger, more reliable bond for the epoxy.
Don't let improper preparation jeopardize your investment in a beautiful epoxy garage floor. Trust the experts at Flagler Concrete Coatings to handle all your concrete coating needs, from meticulous preparation to flawless application. We are the #1 Concrete Coating Company in Jacksonville & Ormond Beach, dedicated to delivering exceptional results for garages, basements, patios, pool decks, driveways & walkways. Contact us today for a free estimate and let us help you achieve the perfect, long-lasting finish you deserve.